
Now I do not have to wait for my 3/8" and 1/2" Craftsman Torque Wrenches to arrive. Kudos to UmmaGumma, as well as Vicki of Cycle Craft :-)


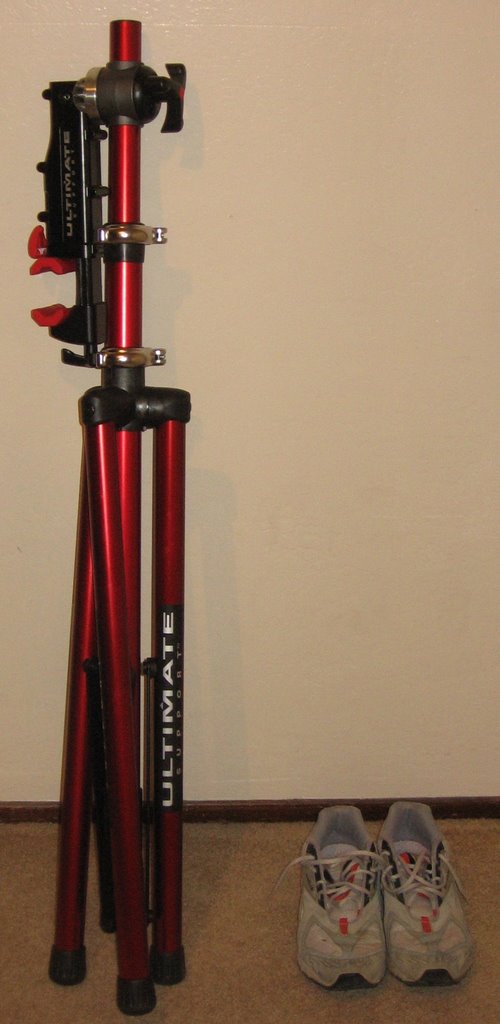
 Illustration of the heavy duty clamp unit. This beauty is a joy to use. You place the bike between the red jaws, slide the ratchet-action clamp until it contacts the bike, and then use the spindle for final tightening.
 When you are done, all you have to do is hit the red button and jaws spring open. Voila! Easy removal of the bike!
 Pro-Elite stand holding Cloe.
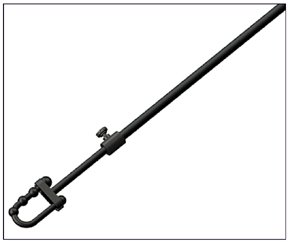 A nifty accessory, the Handlebar Holder, is useful in keeping the handlebar from swinging around during wrenching.
  James Huang has a great picture of it in use. (I didn't unpack mine).
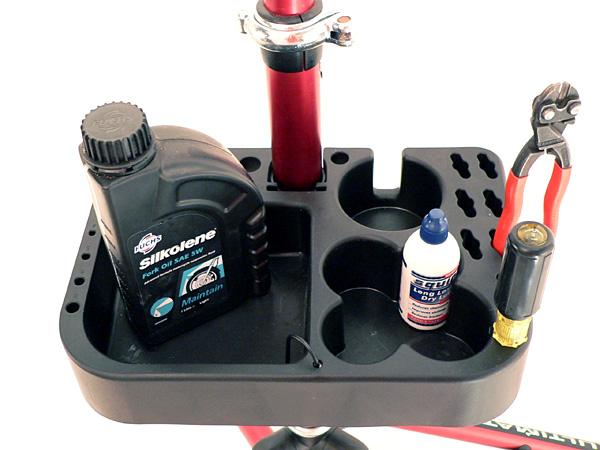 A handy Tool Tray is also the perfect accessory to the stand. It is made of very heavy duty plastic. the square tub doubles as a parts wash sink, with a tethered drain plug. (Jame's picture again. I didn't unpack mine either.)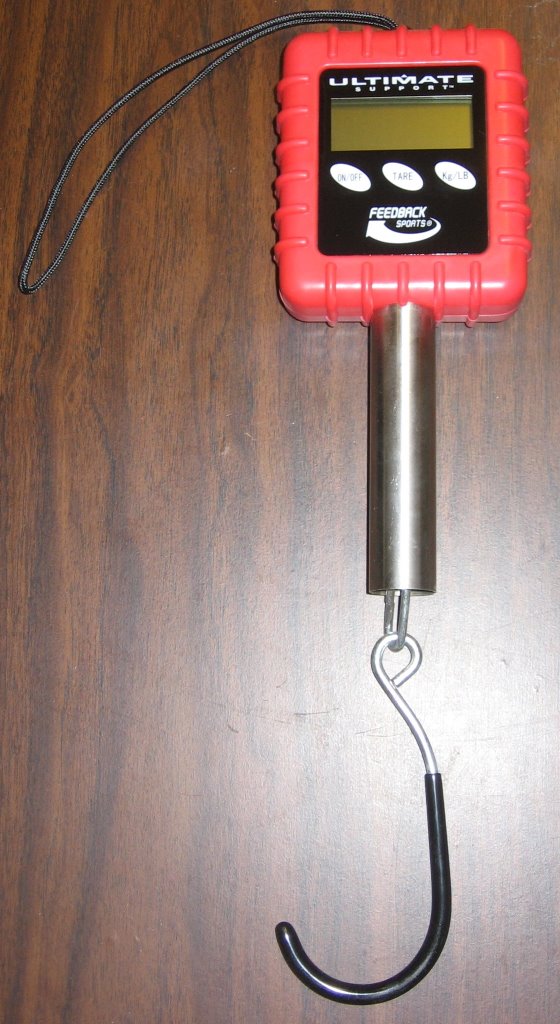
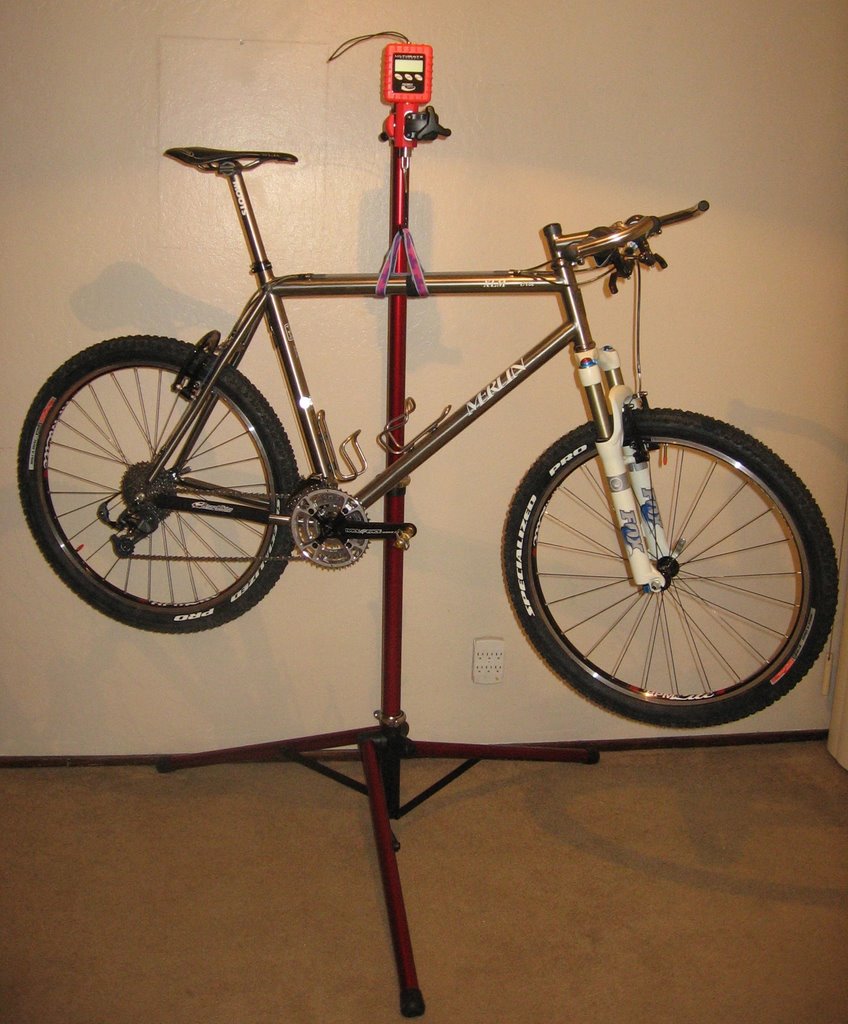
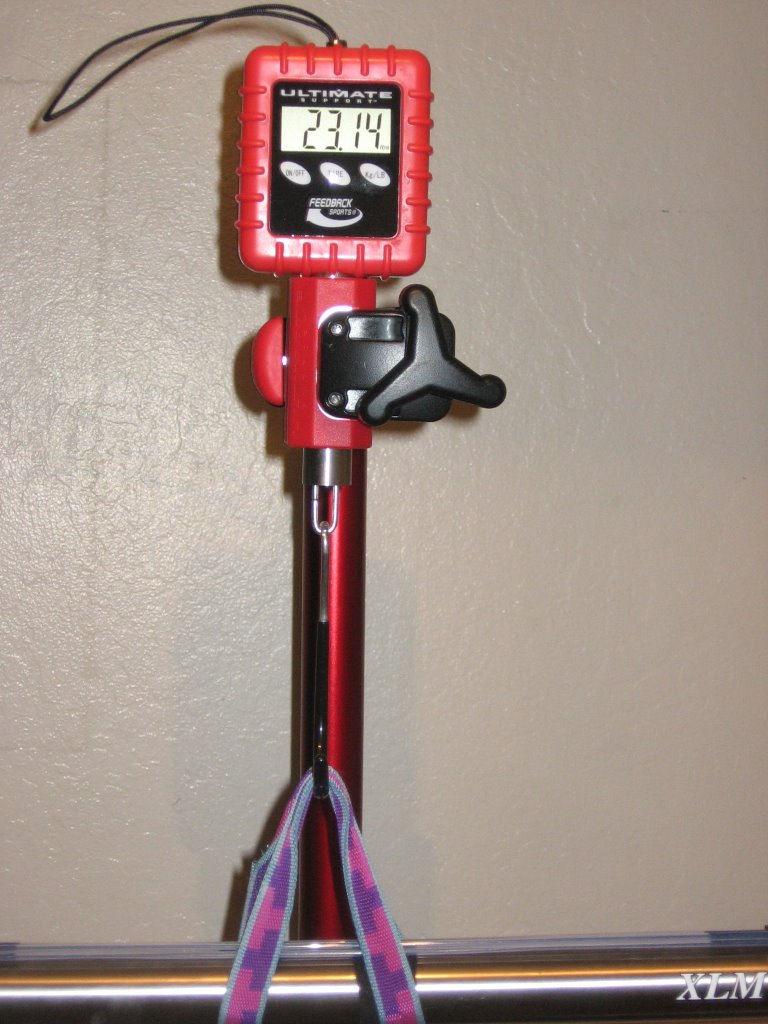
 Ivy being weighed.
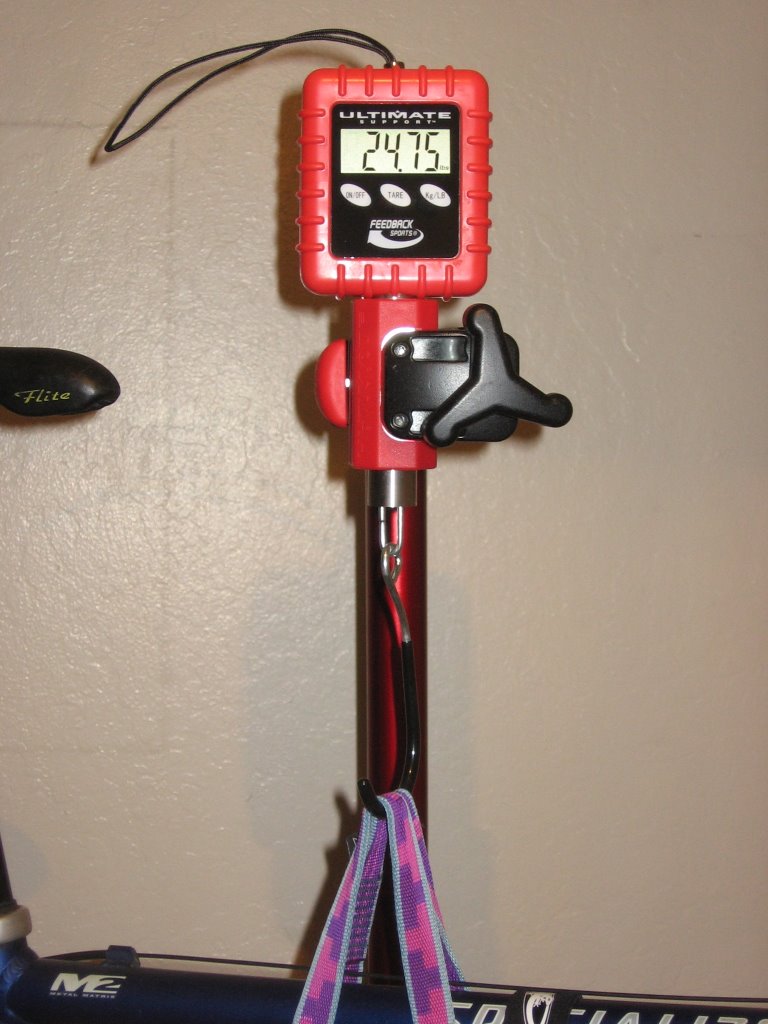 Close up.
 It snaps right in.
 The Titec 118 is a MTB flat handlebar. When I bent my X-Lite 540 Pro Titanium handlebar in a crash, the next narrowest production titanium handlebar I could find to replace the out-of-production 540 mm X-Lite is the 555 mm Titec 118. As the name suggests, the Titec 118 weighs a svelte 118 grams. It is a butted length of Grade 3 Titanium with a 3-degree bend. To keep costs low (I suspect), rather than swaging the center section with an expensive die for the stem clamp, a plastic shim is simply used to increase the diameter to 25.4 mm.
 As the walls of the Titec 118 handlebars are extremely thin, some of them come with a shim at each end. They appear to be made of titanium too. If the bar has a noticeable ridge at the both ends, your handlebar already came with them installed. If you are not planning to use bar ends, there is no need to remove them.
 If you plan to use bar ends, you should install the Bar End Reinforcement Things (BERTs) to provide additional structural support. If your handlebar comes with the titanium shims installed, you MUST remove them prior to inserting the BERTs. In the picture, you can see that the beveled end of the BERT almost fits into the shim. (Note: handlebar not pictured.) However, if you try and force the 21.4 mm outside diameter BERT through the 20.9 mm inner diameter shim into the handlebar, you will crinkle and collapse its thin walls.
 My first Titec 118 handlebar, purchased from an online retailer, didn't come with BERTs. One email to Titec's customer service and a Mr. Gonzalez sent me a pair of BERTs via US Priority Mail, free of charge. I was so impressed with the handlebar that I bought a second one. The second handlebar came with BERTs, but they were different from the ones sent by Titec customer service. Due to their smaller internal diameter, they would not accept bar plugs. So I was off emailing Mr. Gonzalez again, explaining that even though my second handlebar already came with a pair of BERTs, I would like another pair: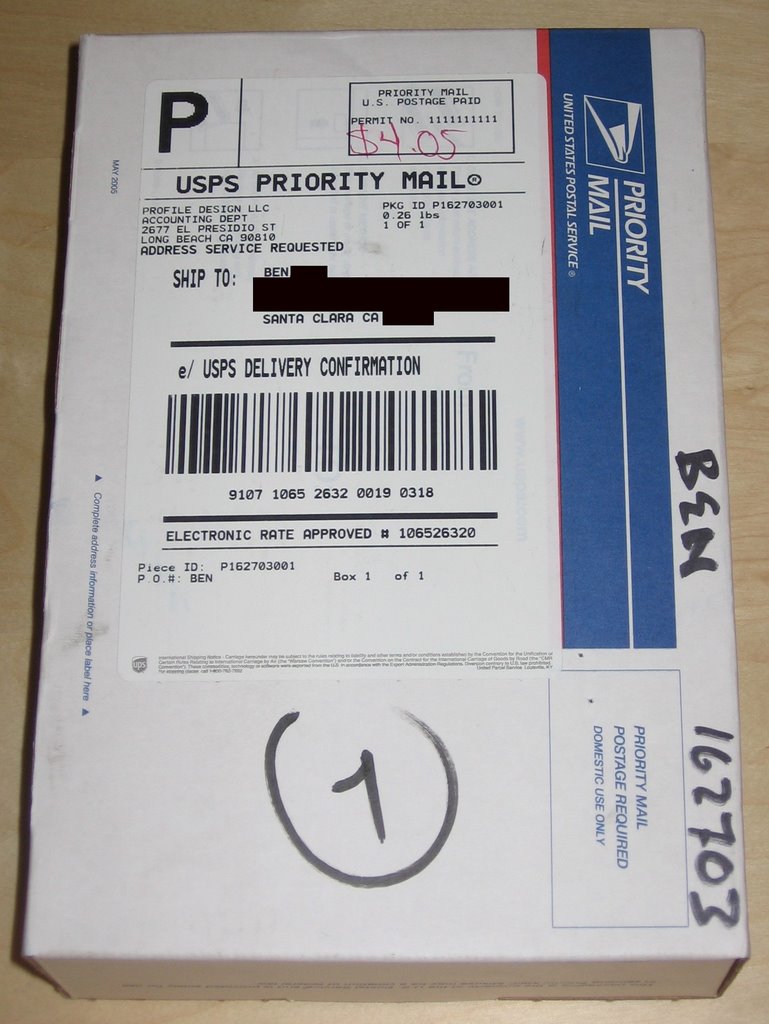
 What's inside.
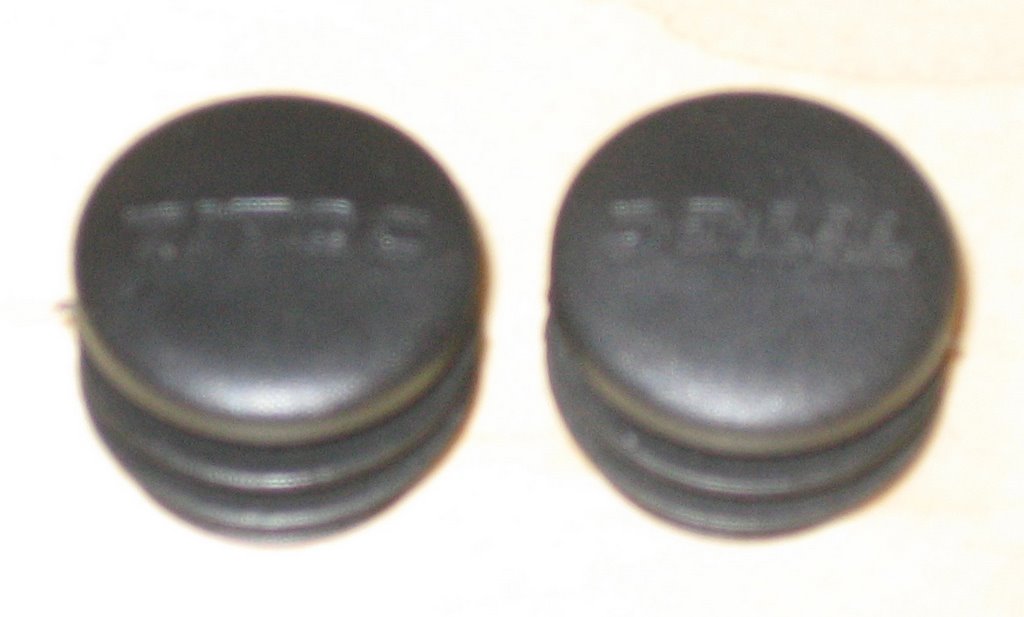
 A comparison of the BERTs that came with the handlebar (left), and those from Titec customer service (right).
 This time, they included a set of bar plugs as well.. Is that incredible customer service or what?
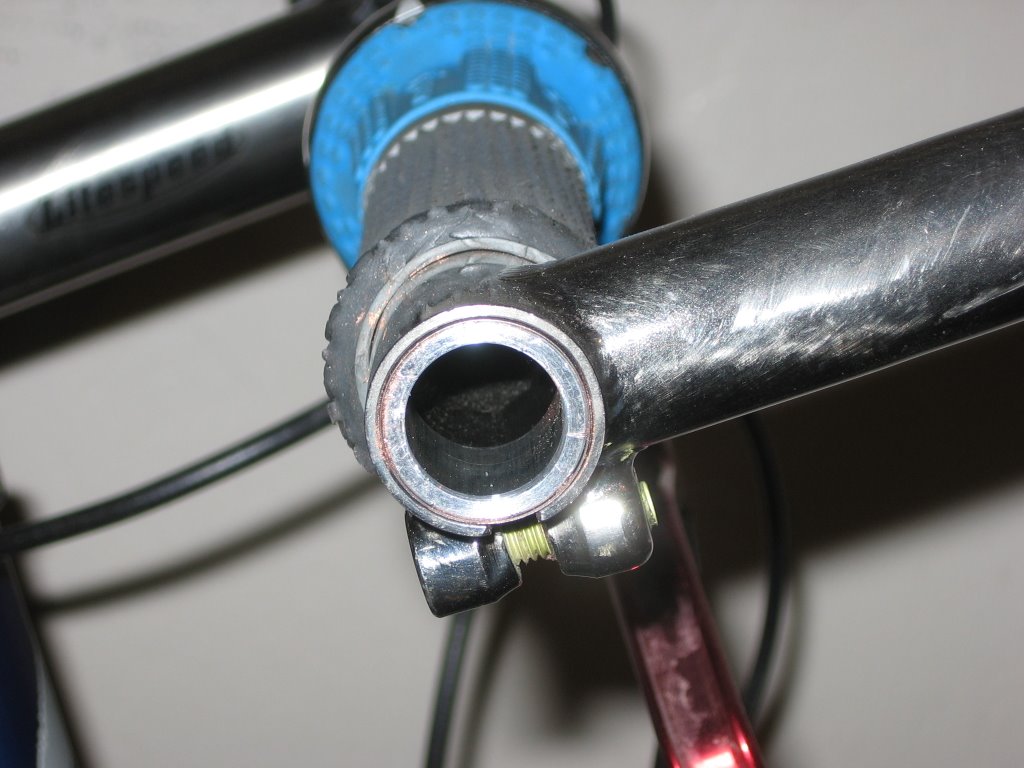 A view of the Titec 118 Titanium handlebar with the thick-walled BERT installed.
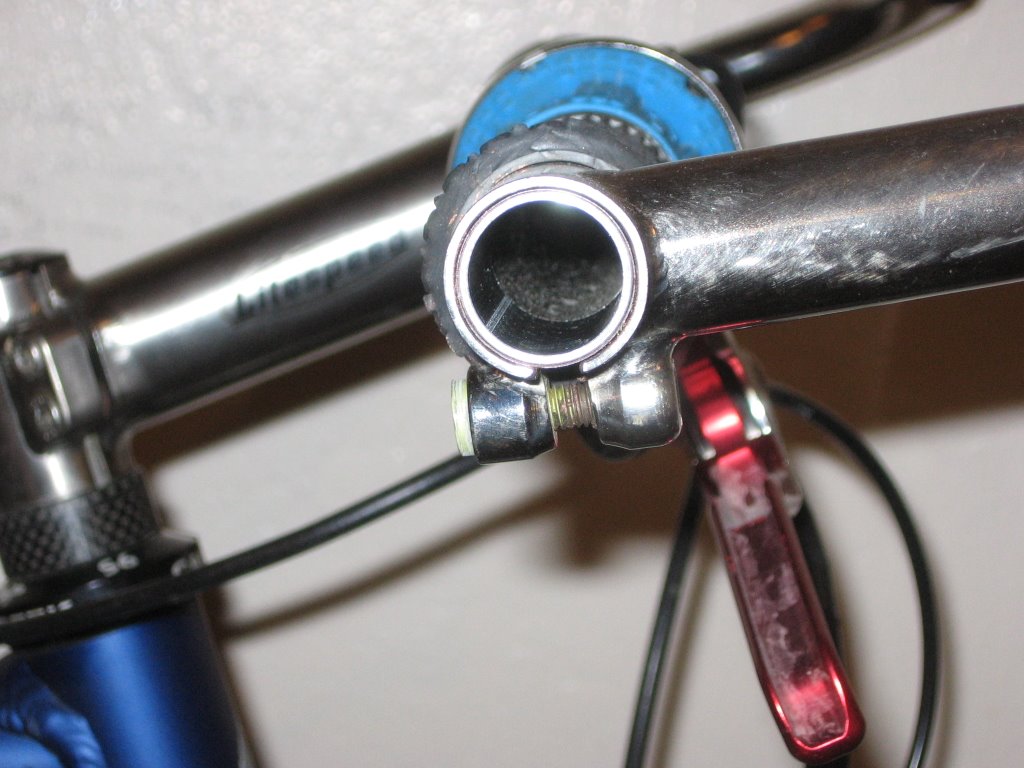 A view of the Titec 118 Titanium handlebar with the thin-walled BERT installed.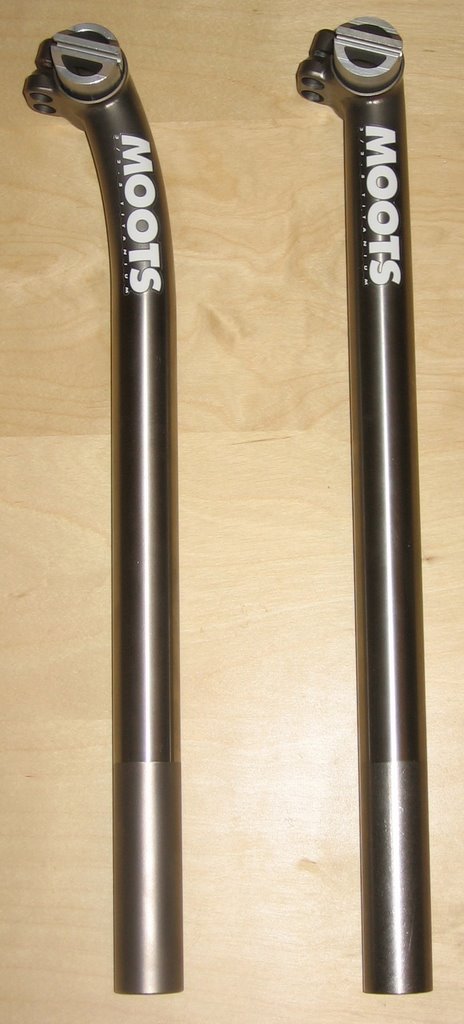
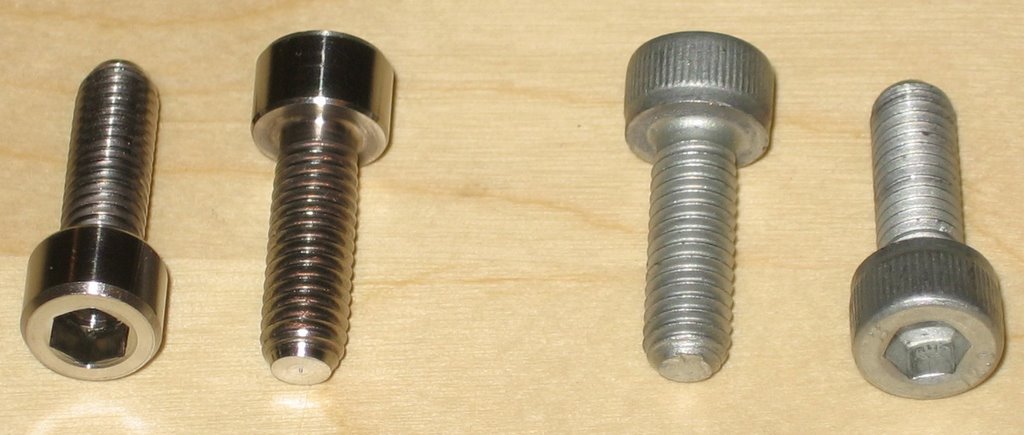 On the right, the stock M6 x 18mm Saddle Clamp Dacromet steel bolts. On the left, Moots Saddle Clamp Bolt Upgrade: custom 6AL-4V Titanium bolts in (US$12) in the same exact dimensions (11 mm head height) but at half the weight.
 2 sets of seat clamps. They are beautifully machined. It is obvious that all excess material have been painstakingly removed.
 Carl Van Spreader Tool. This is used to pry open the clamp on the Moots Seatposts to install or remove a saddle. (It is also very useful in spreading open the stem clamps when slipping them over steerer tubes.) Some riders will opt to wing it with a screwdriver and a stack of pennies, risk stabbing themselves, marring the finish of the seatpost, and waste hours struggling. IMHO, if you already dropped the dough on a Moots Titanium Seatpost, another US$17 on a quality dedicated tool is a no-brainer.
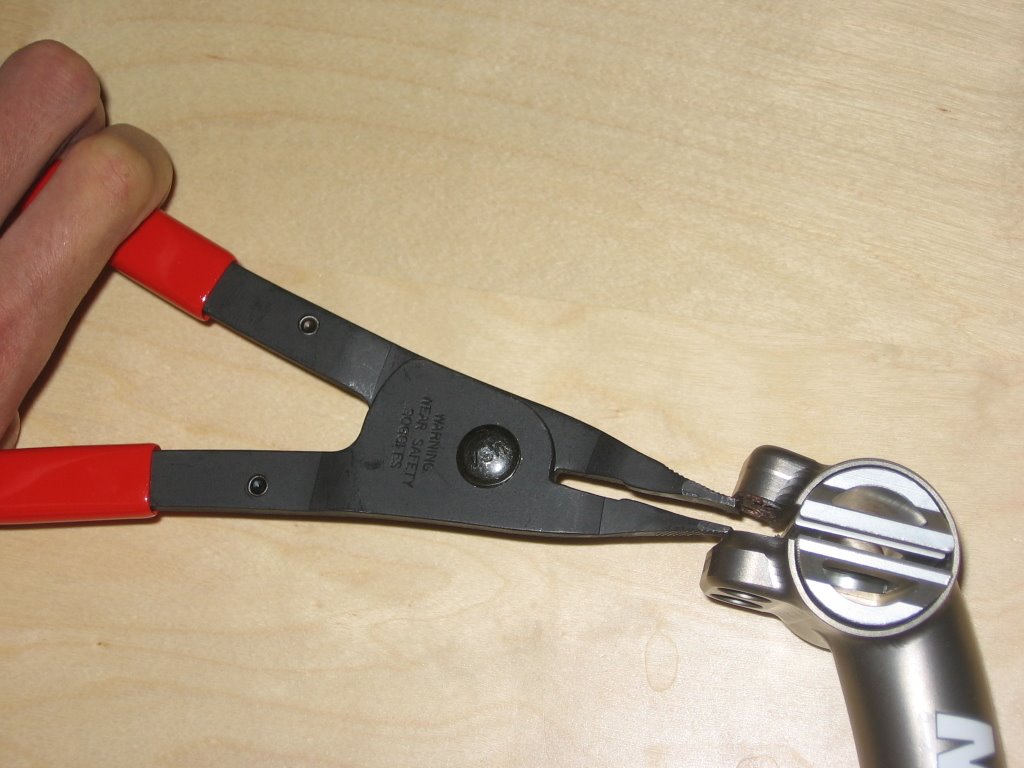 Cal Van Spreader Tool in action. Adding a locking mechanism will greatly improve its functionality, IMHO.
 Cloe with Moots Straight Laced Seatpost installed.
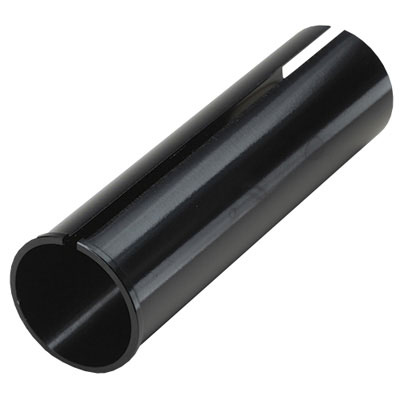 With the addition of the Cane Creek 27.2-to-30.9 mm Seatpost Shim (US$8), the Moots Lay Back Seatpost will serve duty on Ivy, my Specialized Stumpjumper FS.
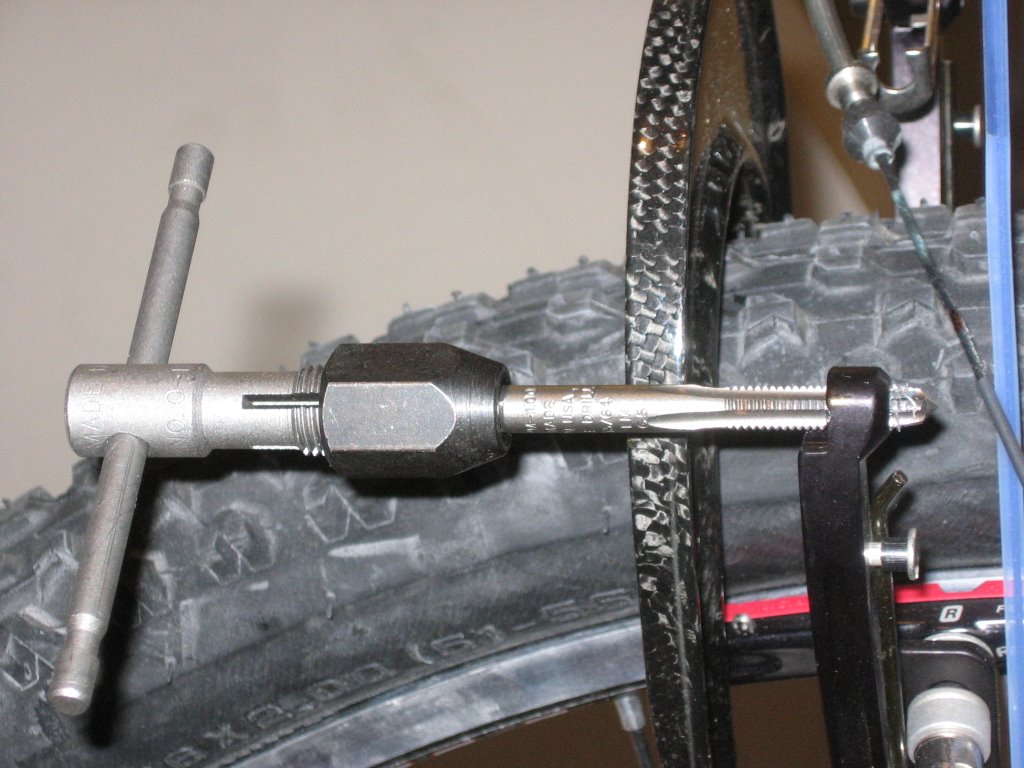 Chasing the threads when upgrading from Avid Ultimate Single Digit's stock stainless steel cable clamp bolts to TekBolt's titanium hardware.
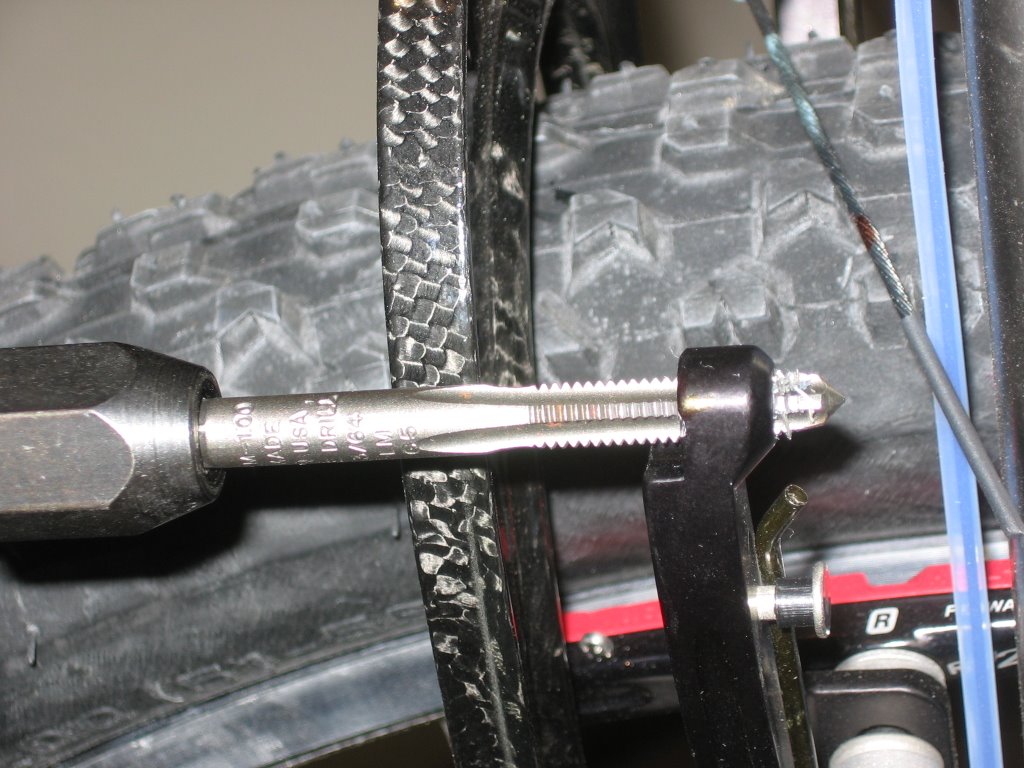 Close up of old Loctite™ compound scraped off by the tap.
 A comparison of a regular socket and a custom chamferless socket. The top stanchion nuts of Fox Racing Shox's forks are extremely low profile (3 mm) in order to minimize interference with the down tube. This means that a chamferless socket must be used to avoid rounding off the soft aluminum nut. Bike Tools, etc. makes a custom 26mm socket that has been ground flat expressly for this purpose. At $6.75, it would be pennywise and pound foolish to jerry-rig with a regular socket.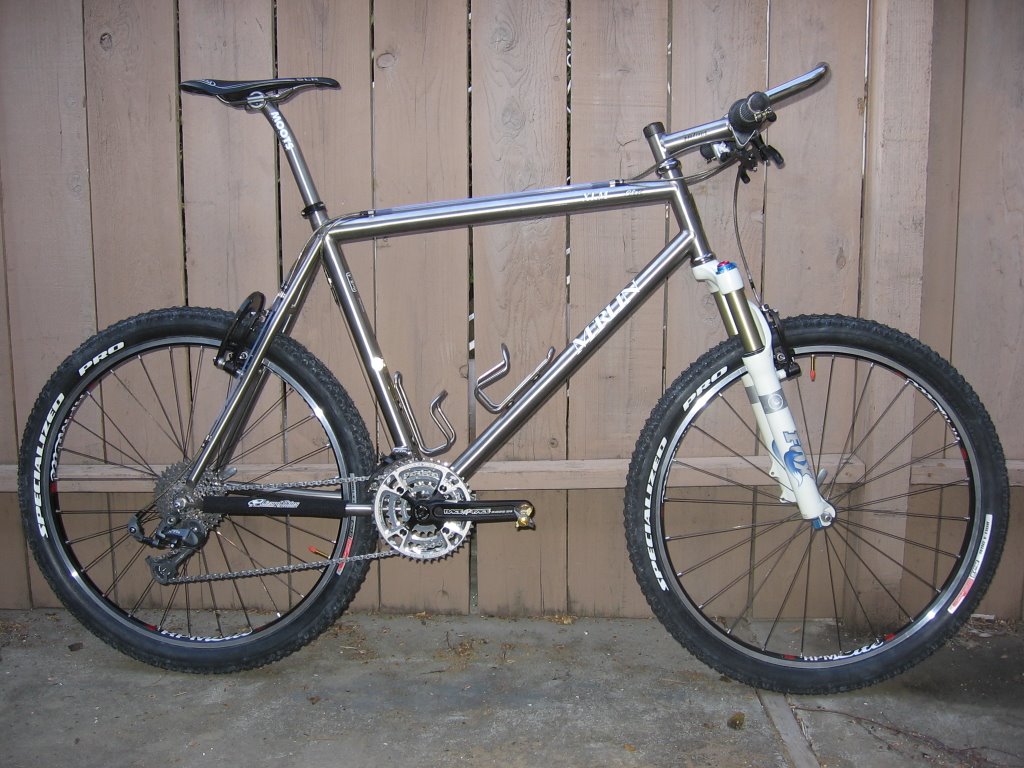
 Avid Flak Jacket Kevlar™ braided brake and derailleur cable housing.
 This Litespeed Titanium handlebar was originally spec'd, but, at 23.5 inches, it was too wide for my narrow shoulders. I went with the narrower 22-inch Titec 118 Titanium handlebar instead.
 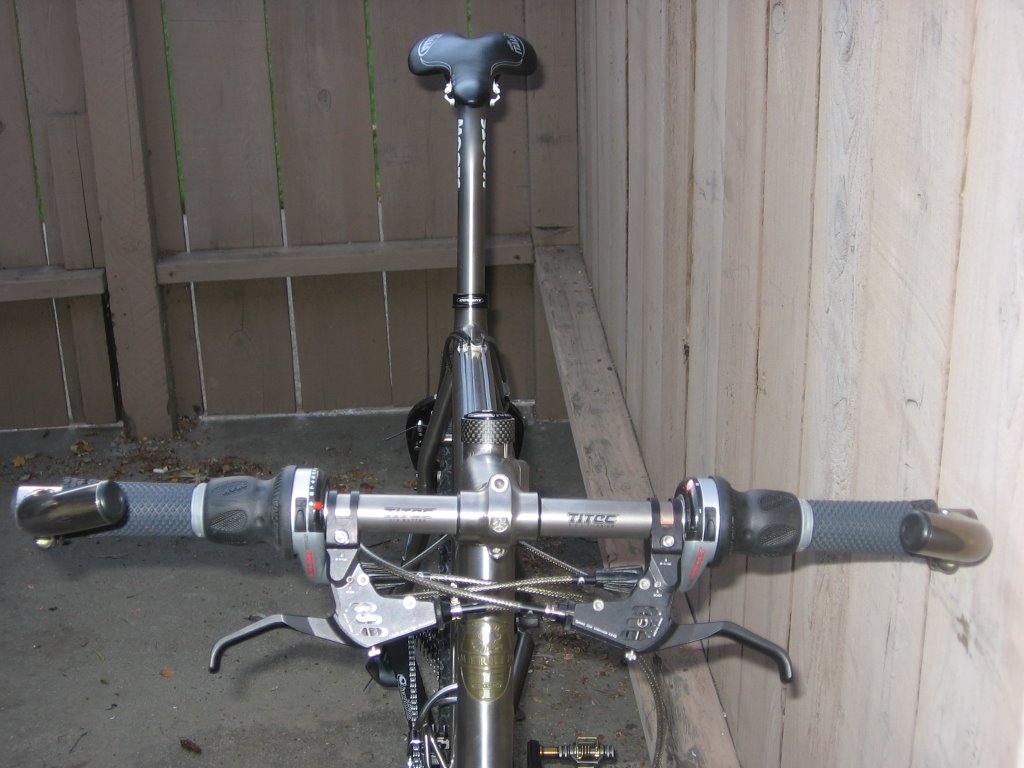 Cockpit with Titec 118 Titanium handlebar.
 The extreme wall thinness of the Titec 118 Titanium handlebar near the ends necessitates additional structural support if bar ends are used. These Bar End Reinforcement Things (BERTs) slip into the ends of the handlebar, where bar ends clamp on.
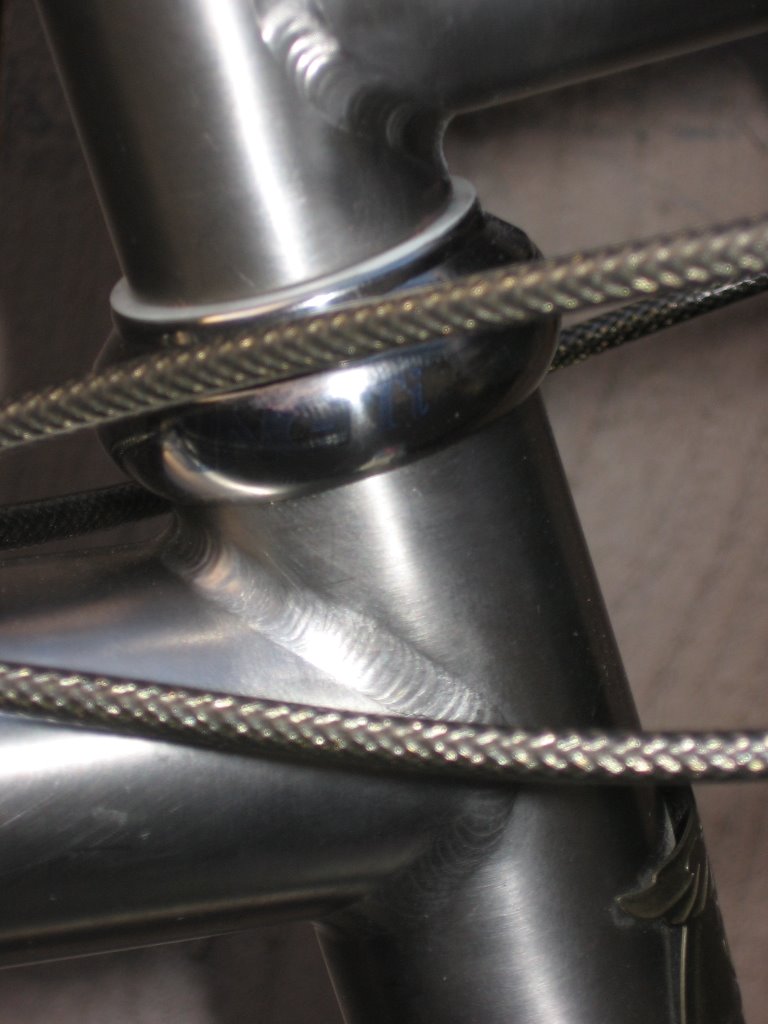 Chris King Titanium Threadless Headset.
 Stock cable sleeve tubing upgraded to Teflon™.
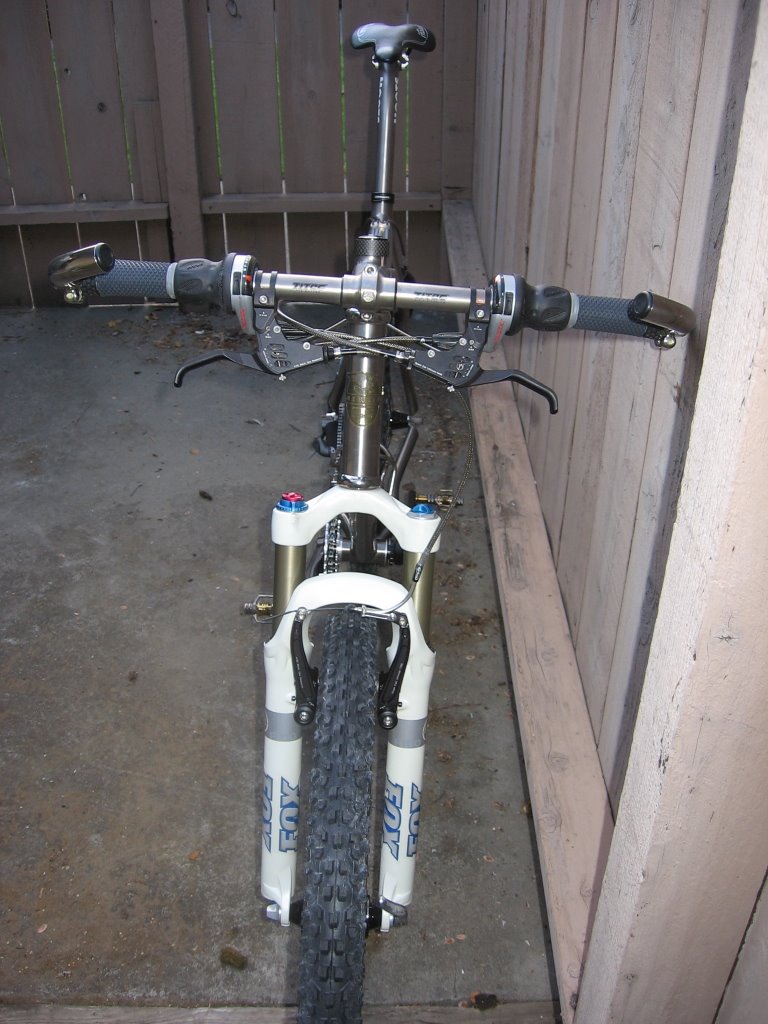 Front view.
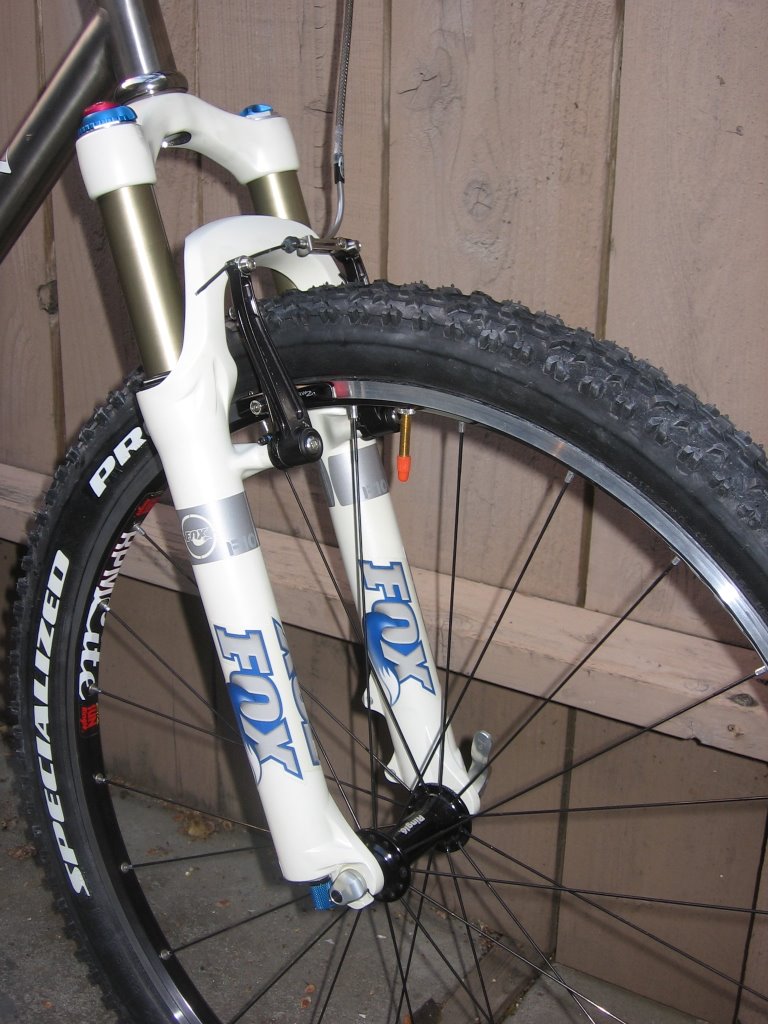 2007 Fox Racing Shox F100 RLC Fork.
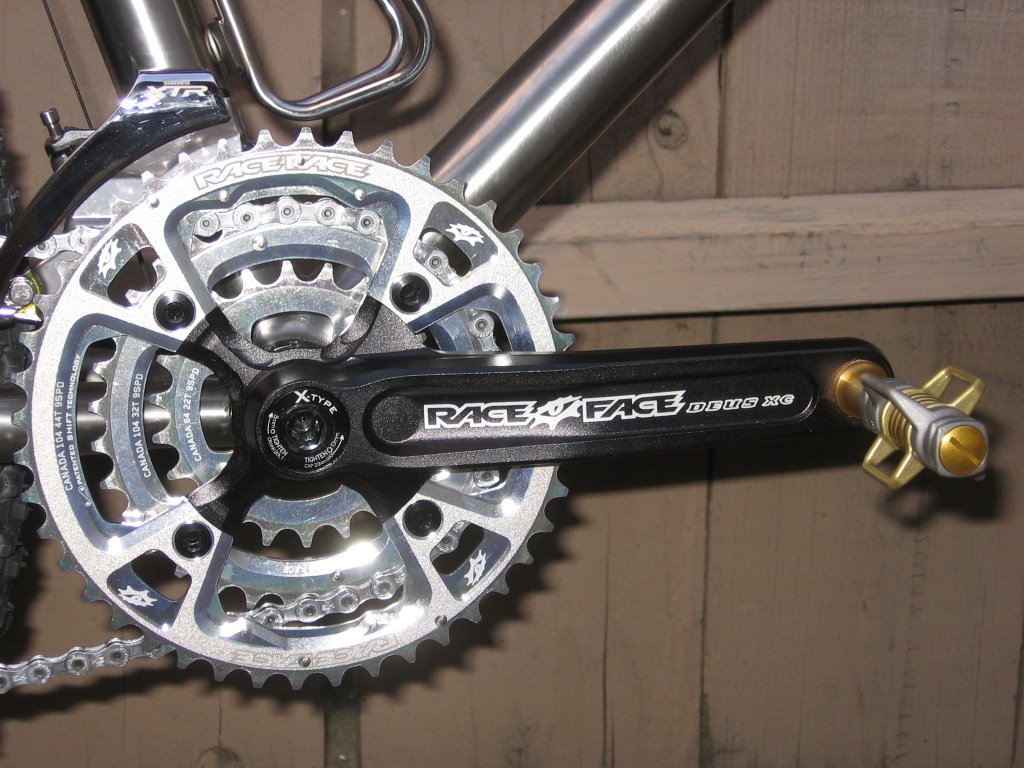 Race Face Deus XC crankset and Crank Brothers 4Ti pedals.
 I originally bought the Crank Brothers 3Ti Titanium pedals (186 grams / pair) for Cloe but later decided to upgrade to the 4Ti, which are lighter by 19 grams. Both are stunningly presented in an extruded aluminum case.
 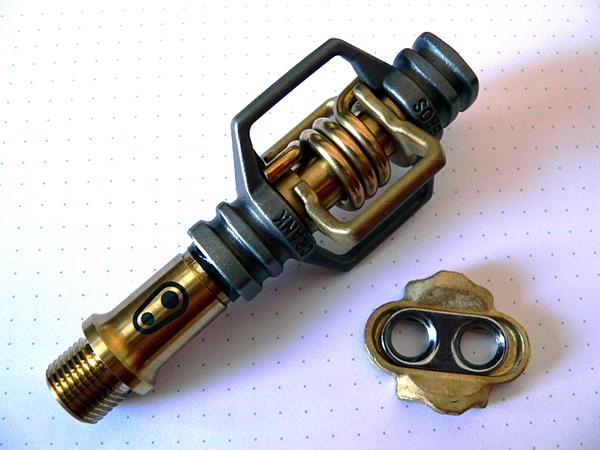 Crank Brothers Eggbeater 4Ti Titanium pedal with premium cleat.
 Comparison of CNC-cut steel cleat shim upgrade (left, silver) with OEM Crank Brothers' plastic shims (right, black).
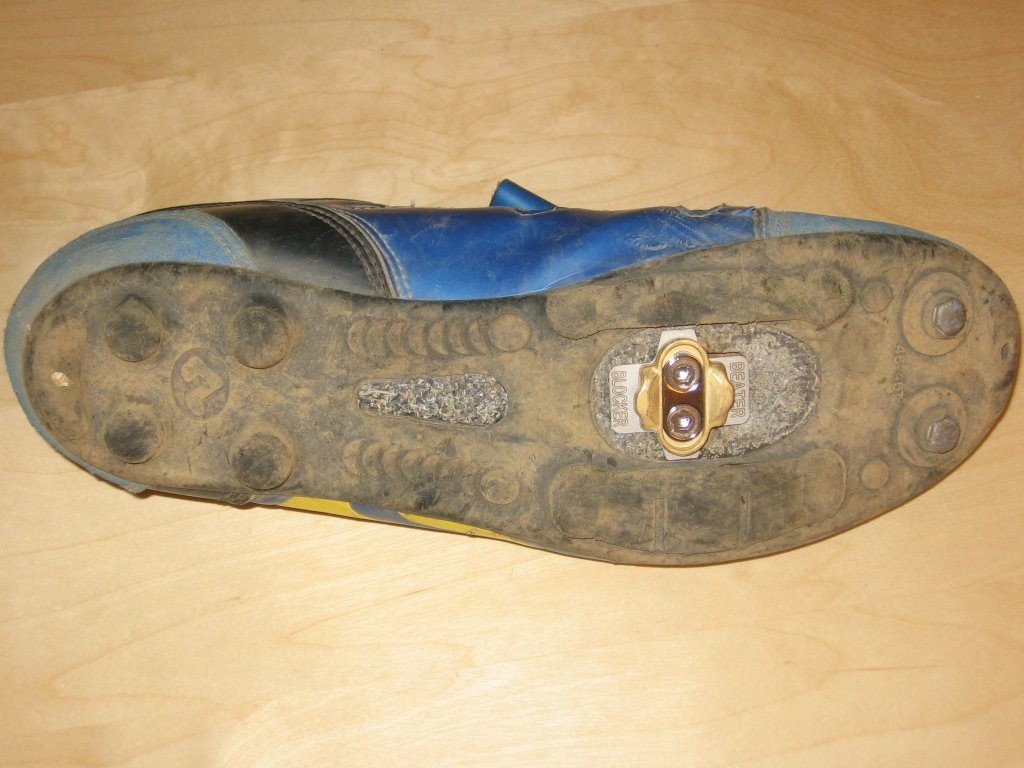 Cleat and upgraded shim installed on Shimano M-225 shoe.
 Close up. The shim protects the carbon fiber body of the shoe (hopefully).
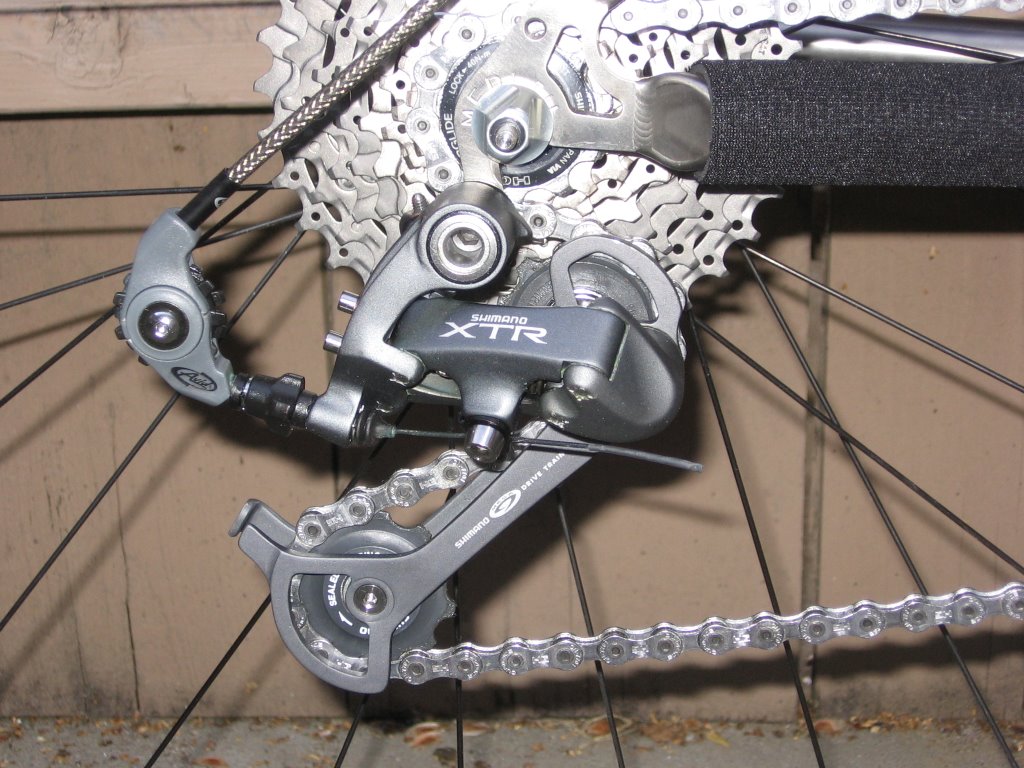 Rear derailleur and Avid Rollamajig.
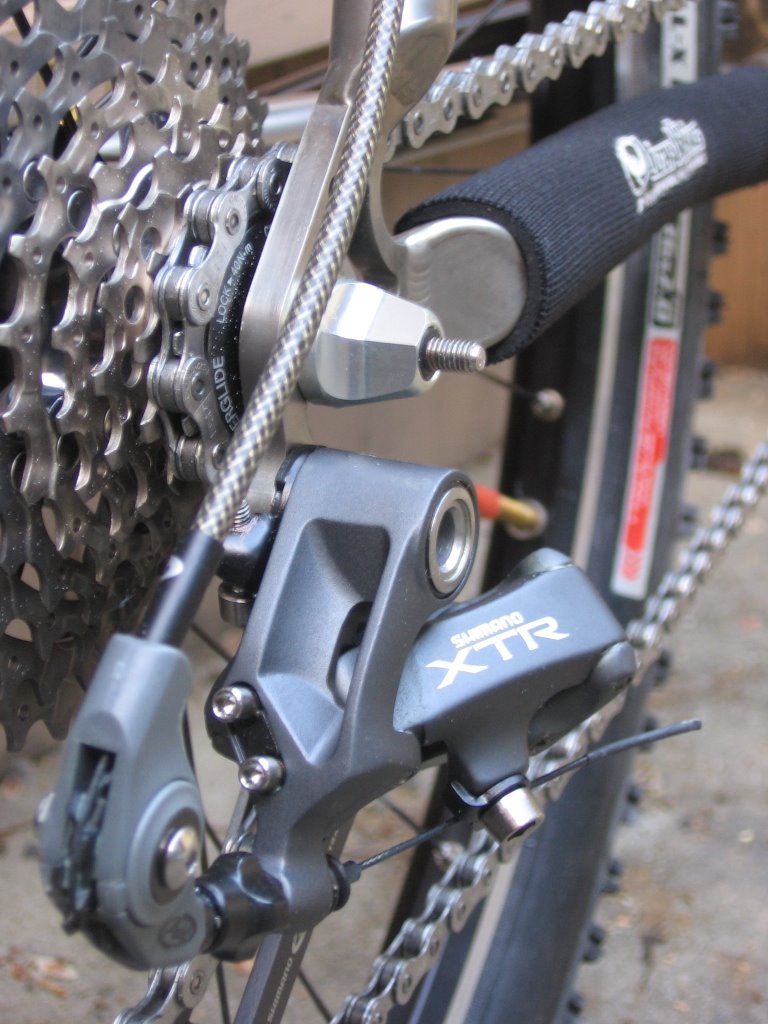 Titanium hardware on derailleur.
 Front derailleur.
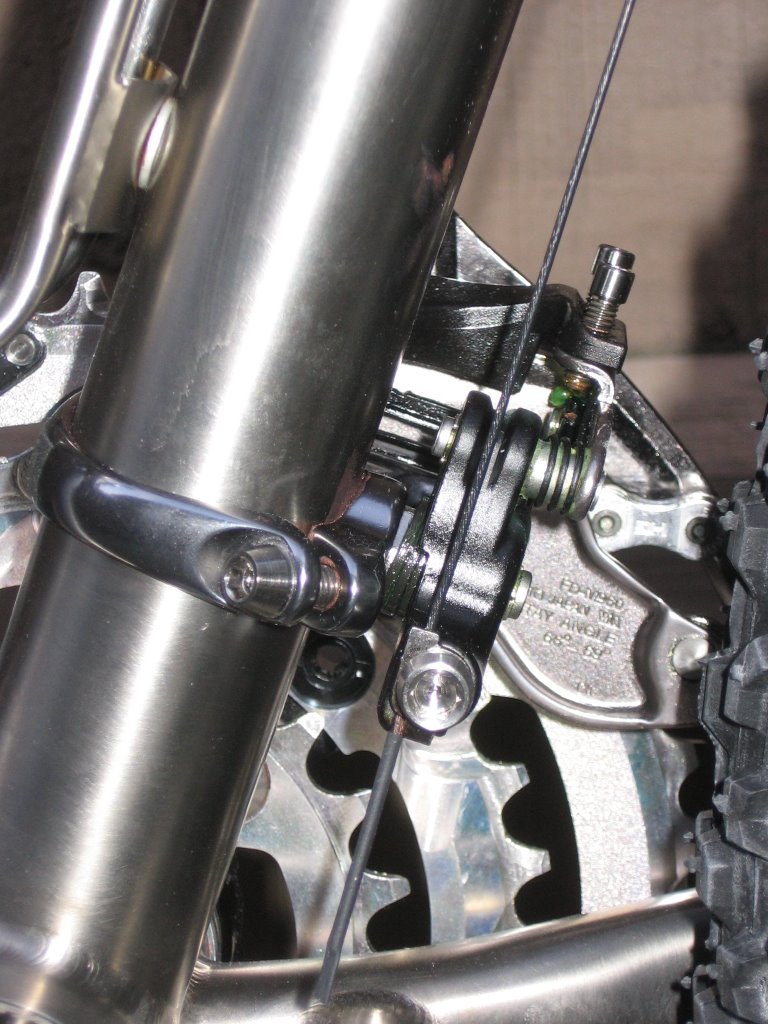 Titanium hardware on derailleur.
 Salsa Titanium rear Quick Release and Shimano XTR Titanium cassette.
 Extralite Ultra Clamp with custom Titanium bolt. It only weighs 11 grams with the bolt!
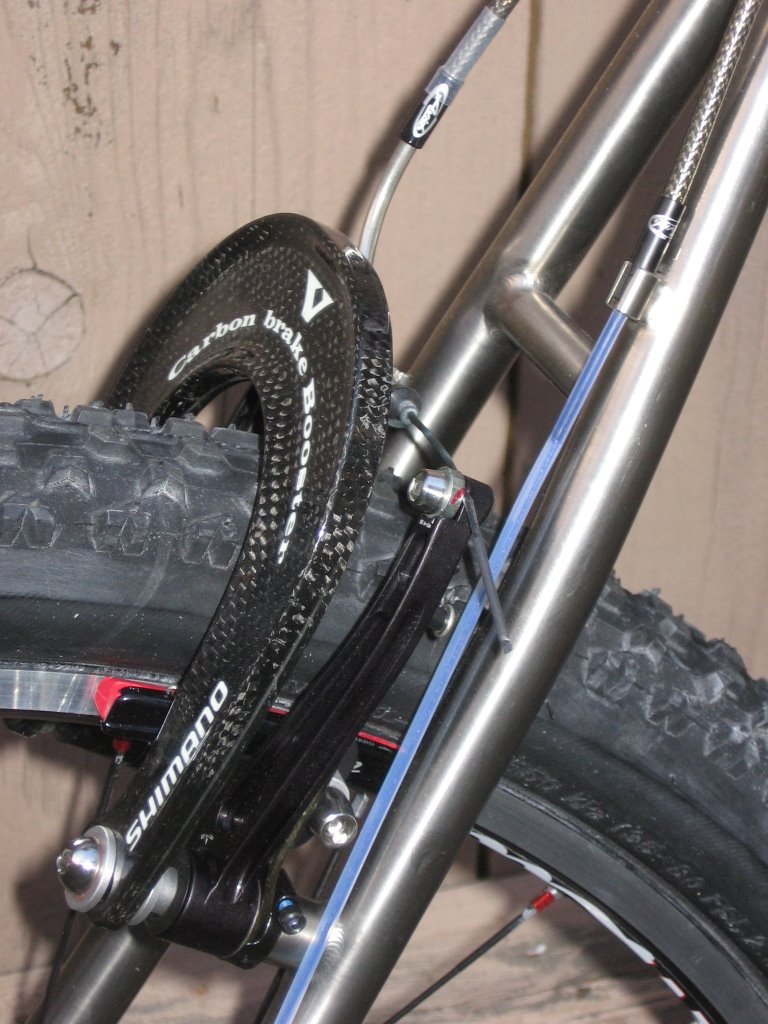 Avid Single Digit Ultimate V-brakes with Shimano Carbon Fiber Brake Booster and Titanium Pivot bolts.
 Front and rear Avid OEM V-brake pads upgraded to Kool-Stop All Weather pads.
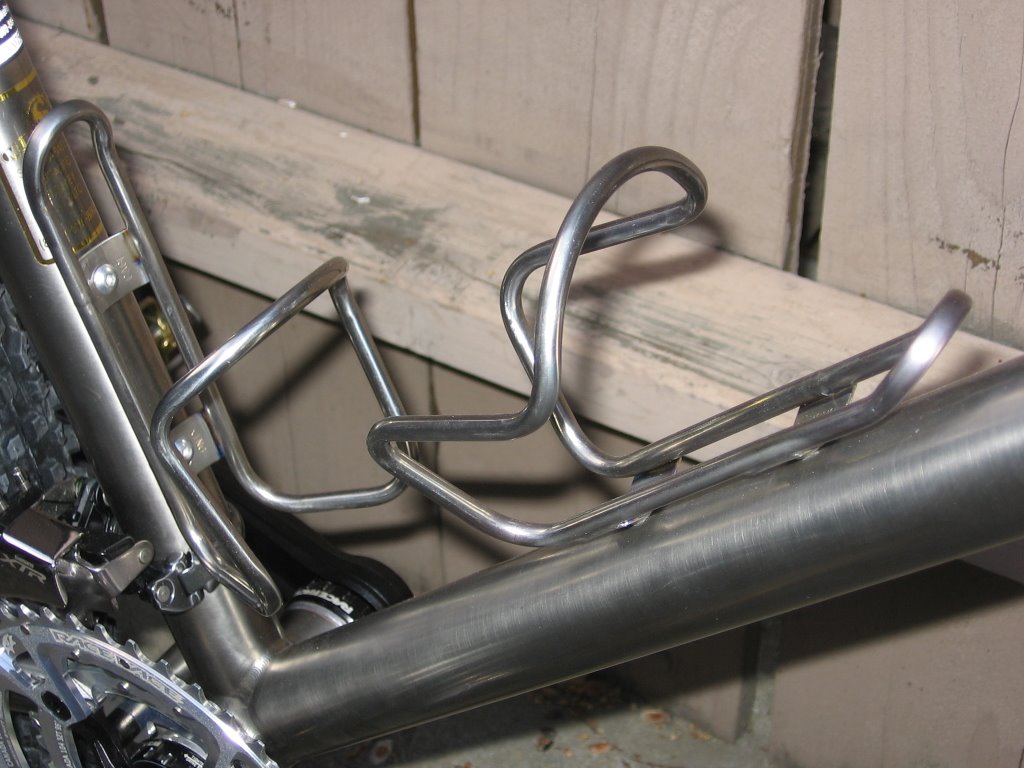 King Cage Titanium water bottle cages (28 grams each).
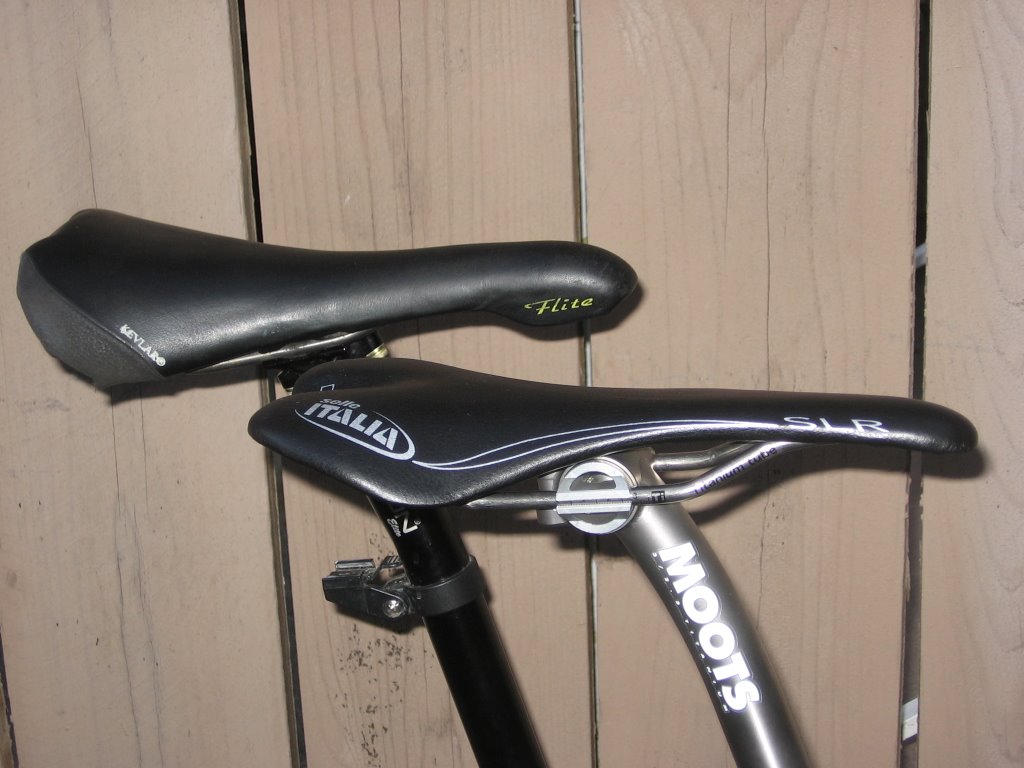 Comparison of Sella Italia Flite Titanium (210 grams) on Ivy (left) with Sella Italia SLR Titanium (135 grams) on Cloe (right).
 Ivy - 18 inches (46 cm).Cloe - 20.5 inches (52 cm).
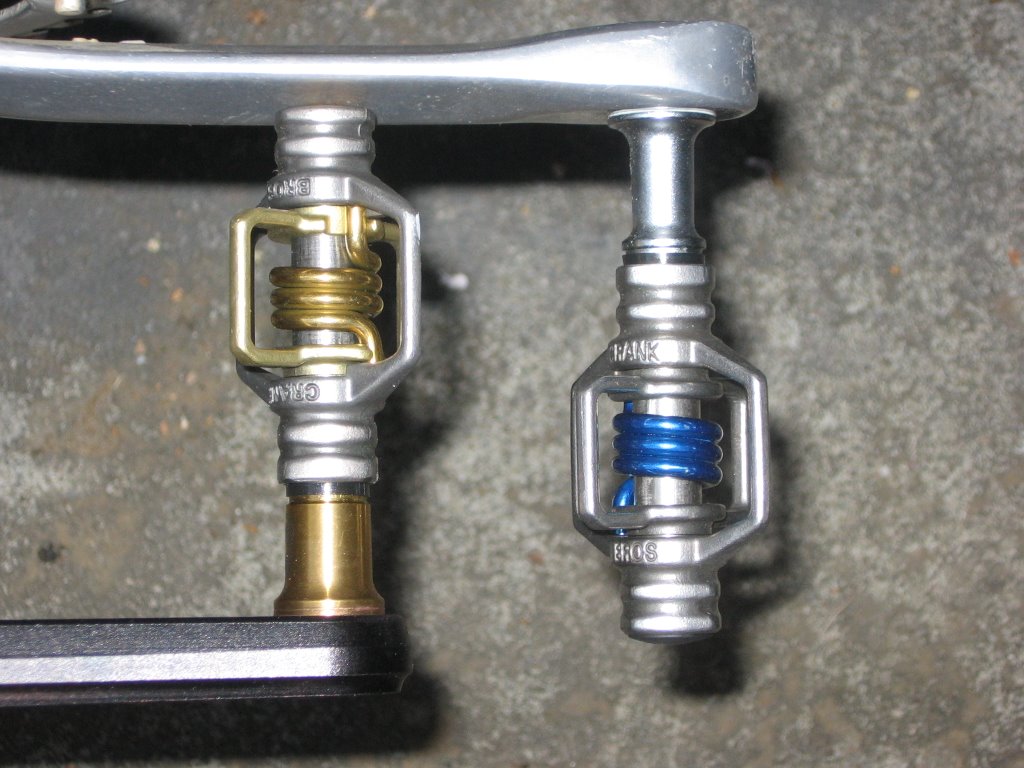 Crank Brothers Eggbeater SL (266 grams / pair) US$120 on Ivy. [Blue spring]
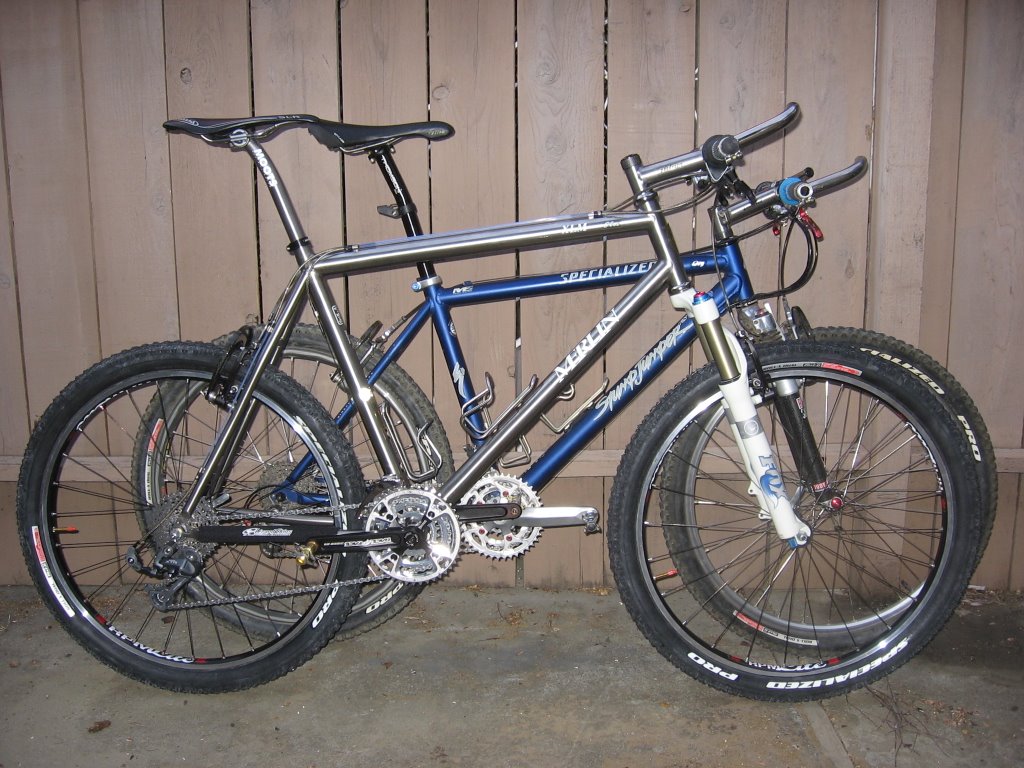 Cloe & Ivy.
 Cockpits.
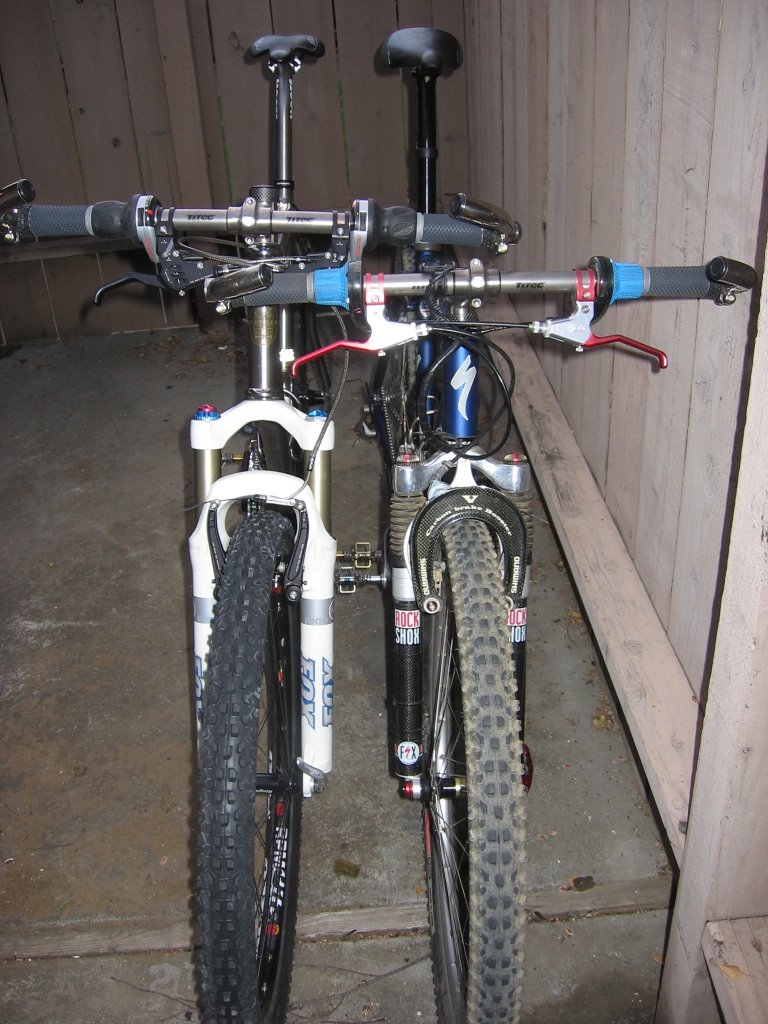 Front view.
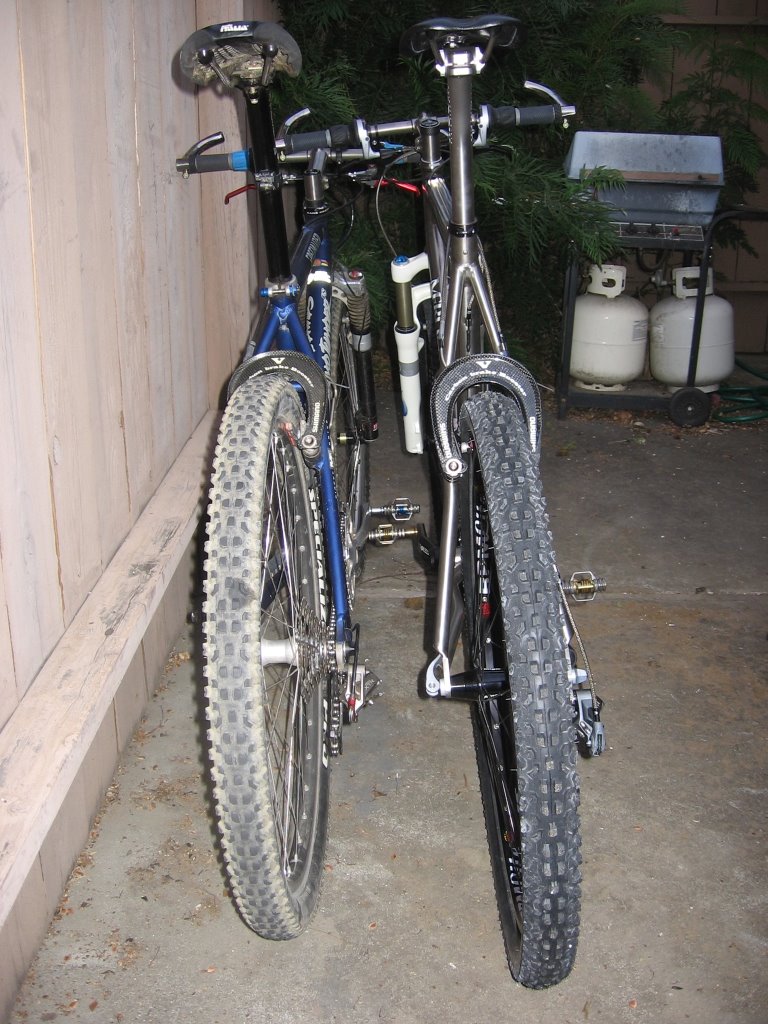 Rear view.
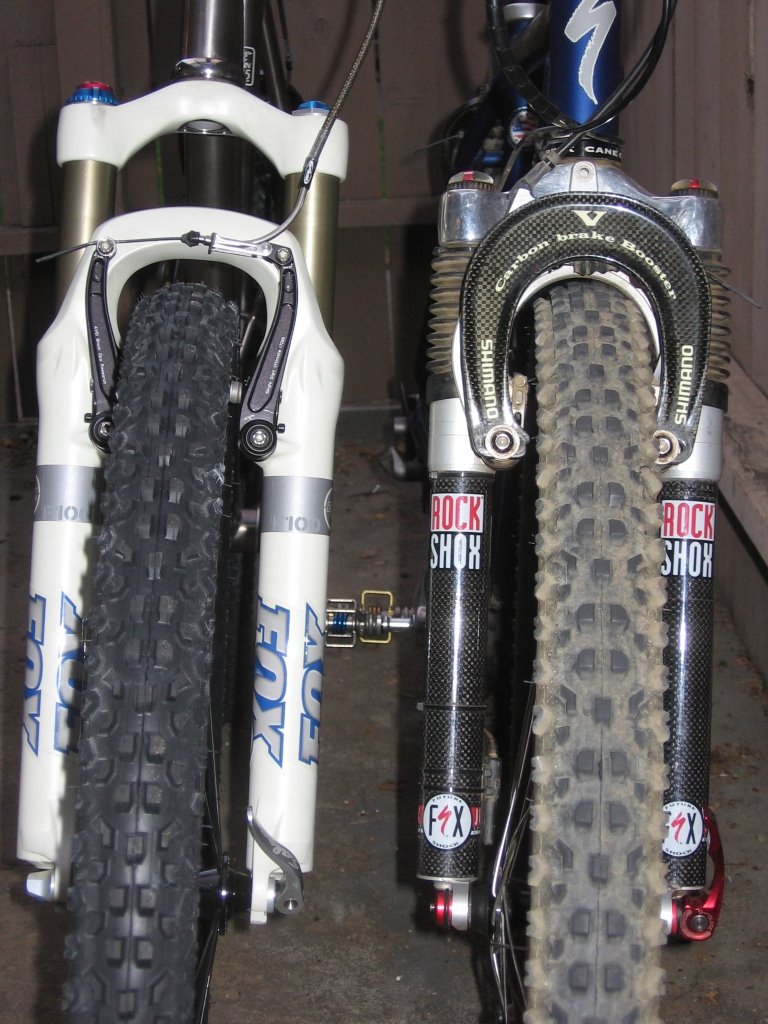 Comparison of 2007 Fox Racing Shox F100 RLC with 1996 Rock Shox Judy FSX. The difference in the width of the stanchions is appreciable.


